
The Effects Of Cypress Component Testing On Your React App
Overview
Everyone has their own thoughts and expectations about building an appropriate quality assurance process for a project within a reasonable amount of time. But at least, I think we can agree that every project manager, product owner, or the client themselves wants to release the product with a minimal number of issues.
In our endeavor to support quality, we can involve different professionals. However, today we'll review an additional effort that developers and/or automation engineers can bring to the product, to make it more stable and reduce expenses on bug fixing after the product is released.
To get closer to the point, we will review what component testing is. Then, we build a simple React-based application and create component tests using Cypress.
React and Cypress are used just as examples of quite popular technologies. In the real world, we will work with what we have.
The Plan
- Component testing
- Build out a simple React application.
- Set up component tests using Cypress.
If you don’t want to spend time creating react app, and just want to see code example, find it here: github
Component Testing
Component testing checks the functionality and looks for defects in parts of the application that are accessible and can be tested separately (program modules, objects, classes, functions, etc.). And that's great because by checking these parts, we can identify the problem as early as possible.
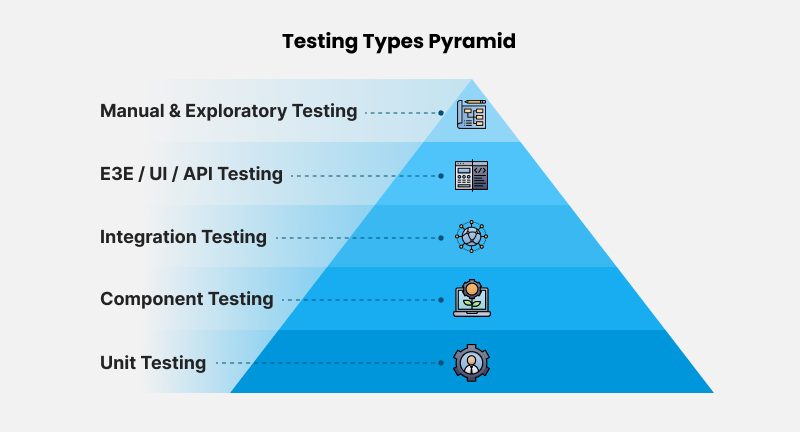
If you take a quick look at the Testing Types Pyramid, you may notice that component testing lies at the bottom, forming the foundation of the pyramid, just one step above unit testing. In the pyramid, component testing is represented by a tree, and this is not done without reason.
As every man should plant a tree, build a house, and raise a son every developer should do everything he can to implement client’s idea with a minimum number of problems, and I believe this wish also has 3 steps: use unit testing to cover your functions, add one more layer to check the whole module, object or class and cover the app with UI / API or E2E tests. In fact, for the last part, we don't have to 'build the house' on our own; we can hire QA Engineers for this.
Testing Details
Component testing is conducted by invoking the code that needs to be checked and with the support of development environments, such as frameworks for modular testing or debugging tools. All defects found are typically corrected in the code without formally describing them in the bug tracking system.
Essentially, component and module testing represent the same thing; the difference lies only in that in component testing, real objects and drivers are used as parameters of functions, while in modular testing, specific values are used.
Well, I hope you've got an idea of component testing, and we can start building our application and tests.
Create REACT Application
Let’s start with creating React App:
1. Start command prompt (cmd) at the working directory.
2. Using cmd write command to create React App:
npx create-react-app %appName%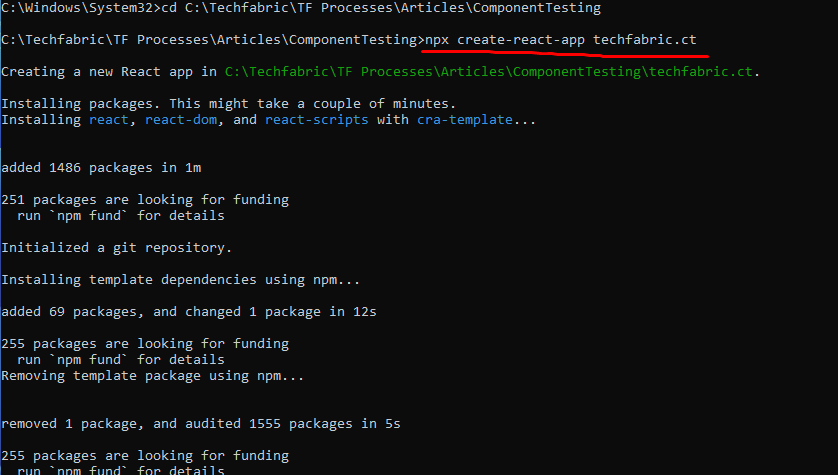
3. Using IDE (like VS Code) open your React application
4. Using IDE add .env file with a free port into the root of the project:
PORT=4000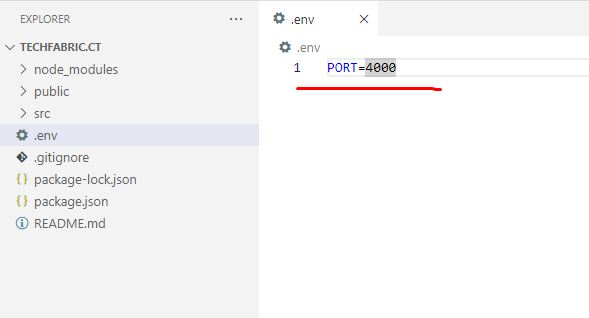
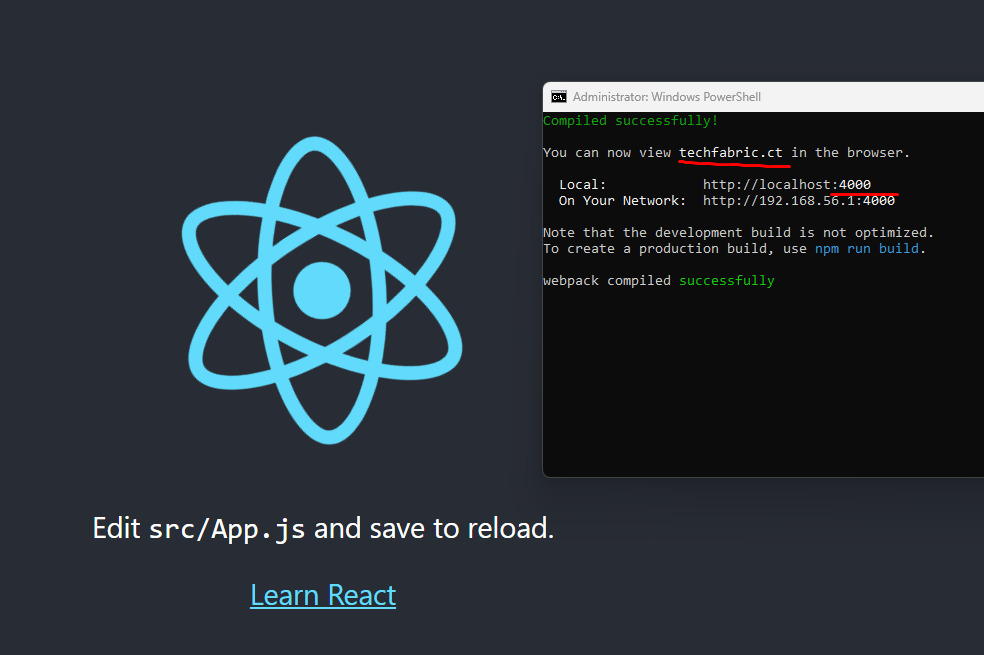
5. Using cmd switch to your project’s directory
6. Using cmd start your app via npm start command

Now you should see React Application running at your localhost:port
Since we have an empty React application, we should add a couple of component examples for our testing needs.
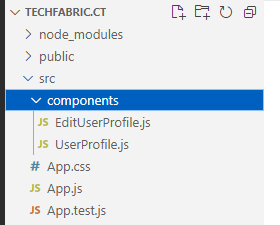
1. Start with creating components folder with UserProfile and EditUserProfile files.
2. Add some data to UserProfile function:
export default function UserProfile({ user, editCallback }) {
  return (
    <div>
      <div>
        <h2>First Name:</h2> {user.firstName}
      </div>
      <div>
        <h2>Last Name:</h2> {user.lastName}
      </div>
      <div>
        <h2>Email:</h2> {user.email}
      </div>
      <div>
        <button onClick={editCallback}>Edit</button>
      </div>
    </div>
  );
}
3. In this simple example EditUserProfile should be a bit more complex, here we can handle callbacks and states:
import { useState } from "react";

export default function EditUserProfile({ user, completeCallback = () => {} }) {
  const [firstName, setFirstName] = useState(user.firstName);

  const [lastName, setLastName] = useState(user.lastName);

  const [email, setEmail] = useState(user.email);

  function handleCancelClicked() {
    completeCallback(null);
  }

  function handleSaveClicked() {
    completeCallback({ firstName, lastName, email });
  }

  return (
    <>
      <div>
        <h2>First Name:</h2>

        <input
          type="text"
          value={firstName}
          onChange={(e) => setFirstName(e.target.value)}
        />
      </div>

      <div>
        <h2>Last Name:</h2>

        <input
          type="text"
          value={lastName}
          onChange={(e) => setLastName(e.target.value)}
        />
      </div>

      <div>
        <h2>Email:</h2>

        <input
          type="text"
          value={email}
          onChange={(e) => setEmail(e.target.value)}
        />
      </div>

      <div>
        <button data-cy="save" onClick={handleSaveClicked}>
          Save
        </button>

        <button data-cy="cancel" onClick={handleCancelClicked}>
          Cancel
        </button>
      </div>
    </>
  );
}
4. And the last part, let’s update App.js file to complete our tiny user profile
import { useState } from "react";
import "./App.css";
import UserProfile from "./components/UserProfile";
import EditUserProfile from "./components/EditUserProfile";

function App() {
  const [editMode, setEditMode] = useState(true);
  const [firstName, setFirstName] = useState("John");
  const [lastName, setLastName] = useState("Doe");
  const [email, setEmail] = useState("john.doe@techfabric.com");
  const savedData = { firstName, lastName, email };

  function handleEditComplete(result) {
    if (result != null) {
      setFirstName(result.firstName);
      setLastName(result.lastName);
      setEmail(result.email);
    }
    setEditMode(false);
  }

  return (
    <div className="container">
      <div className="App">
        {editMode ? (
          <>
            <h1>Edit User Profile</h1>
            <EditUserProfile
              user={savedData}
              completeCallback={handleEditComplete}
            />
          </>
        ) : (
          <>
            <h1>View User Profile</h1>
            <UserProfile
              user={savedData}
              editCallback={() => setEditMode(true)}
            />
          </>
        )}
      </div>
    </div>
  );
}

export default App;
After the work completion we can play with a simple User Profile running in our App:

Finally, we can start component tests creation!
Cypress Component Testing
We've chosen Cypress as an example of a framework that we can use for component testing because nowadays, Cypress is one of the most popular JavaScript/TypeScript frameworks that is quite often seen in projects where React is used for front-end development.
Let's begin setting up the component testing:
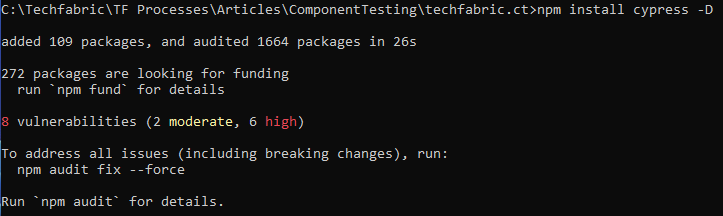
1. Start command prompt (cmd) at the working directory.
2. Using cmd add cypress to the project via command:
npm install cypress -D
3. Using cmd start cypress via command:
npx cypress open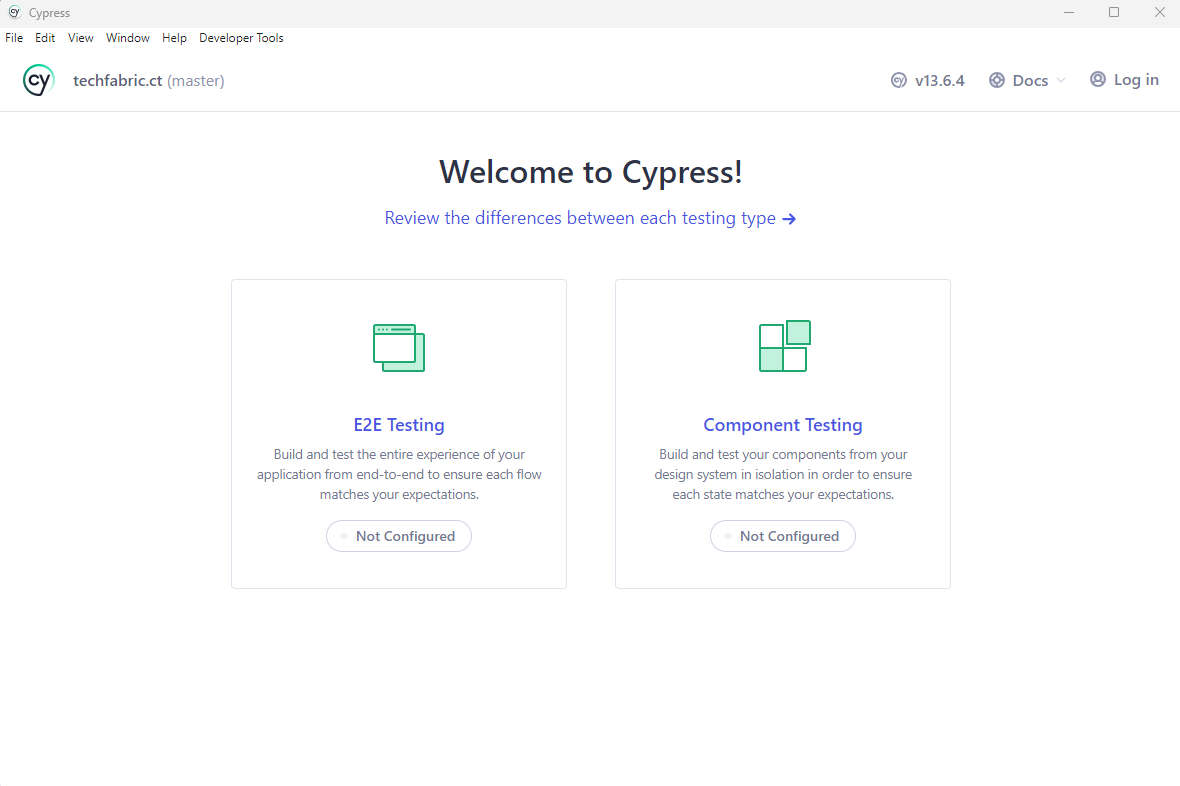
4. Choose Component Testing
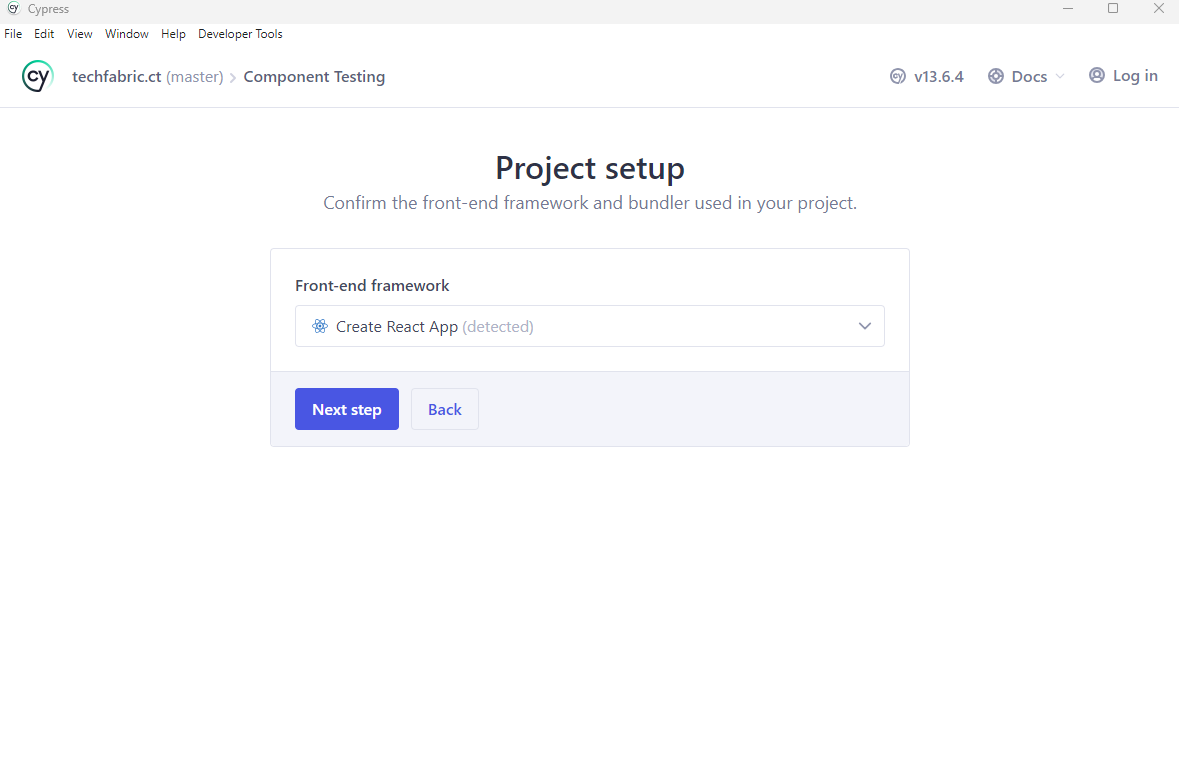
5. Select Front-end framework (in our case it’s React App) and click Next
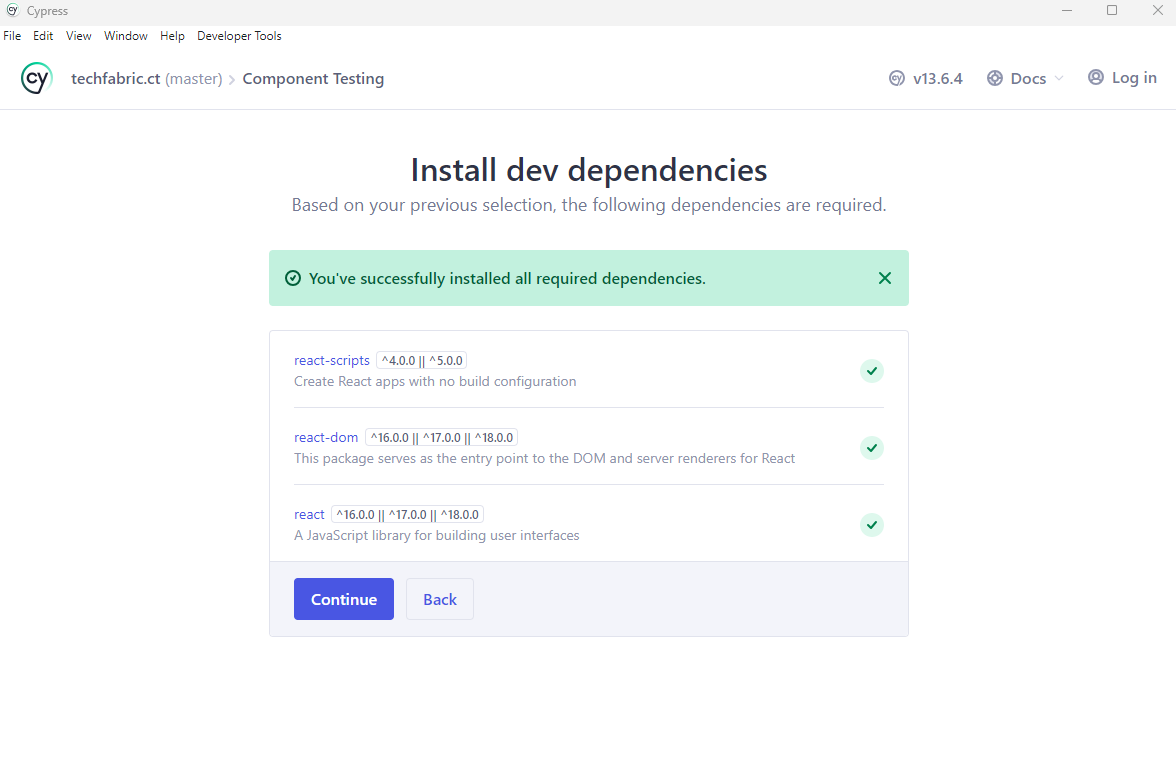
6. Continue on install dev dependencies screen

7. Continue on file configuration
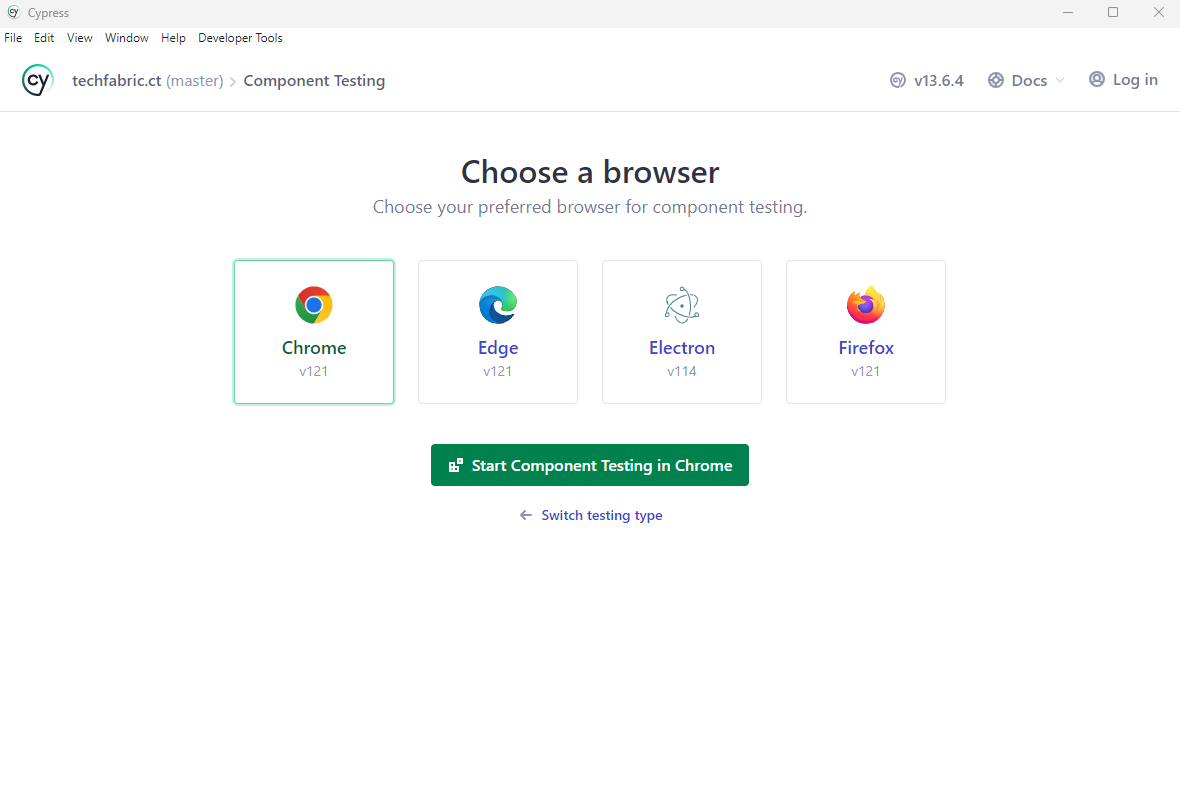
8. Start Component Testing in chosen browser
9. Now we can create spec from component or just a new one
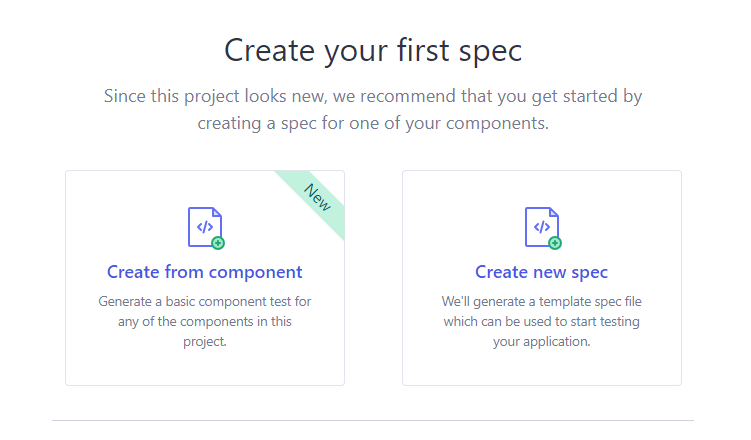
10. Let’s create a spec from UserProfile component
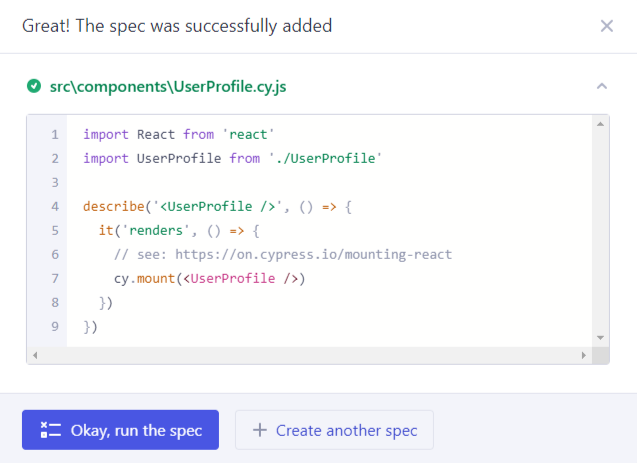
Now we can see cypress file with tests located near your selected component.
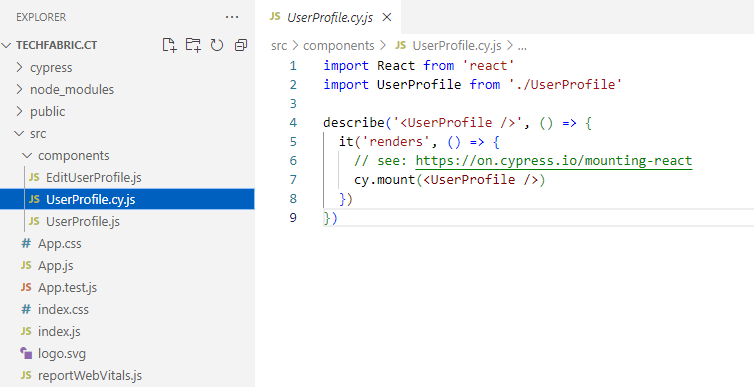
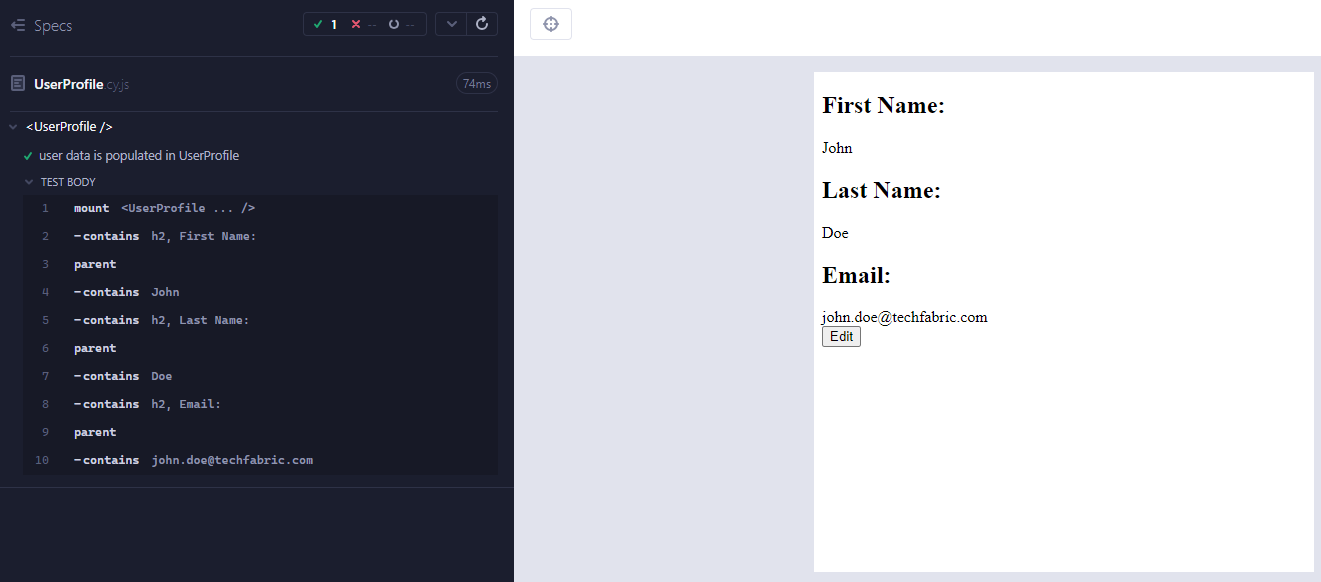
Add UserProfile Component Test:
Let’s pass user object and check the contact shown on the page.
import React from "react";
import UserProfile from "./UserProfile";

describe("<UserProfile />", () => {
  it("user data is populated in UserProfile", () => {
    const user = {
      firstName: "John",
      lastName: "Doe",
      email: "john.doe@techfabric.com",
    };

    cy.mount(<UserProfile user={user} />);

    cy.contains("h2", "First Name:").parent().contains(user.firstName);

    cy.contains("h2", "Last Name:").parent().contains(user.lastName);

    cy.contains("h2", "Email:").parent().contains(user.email);
  });
});
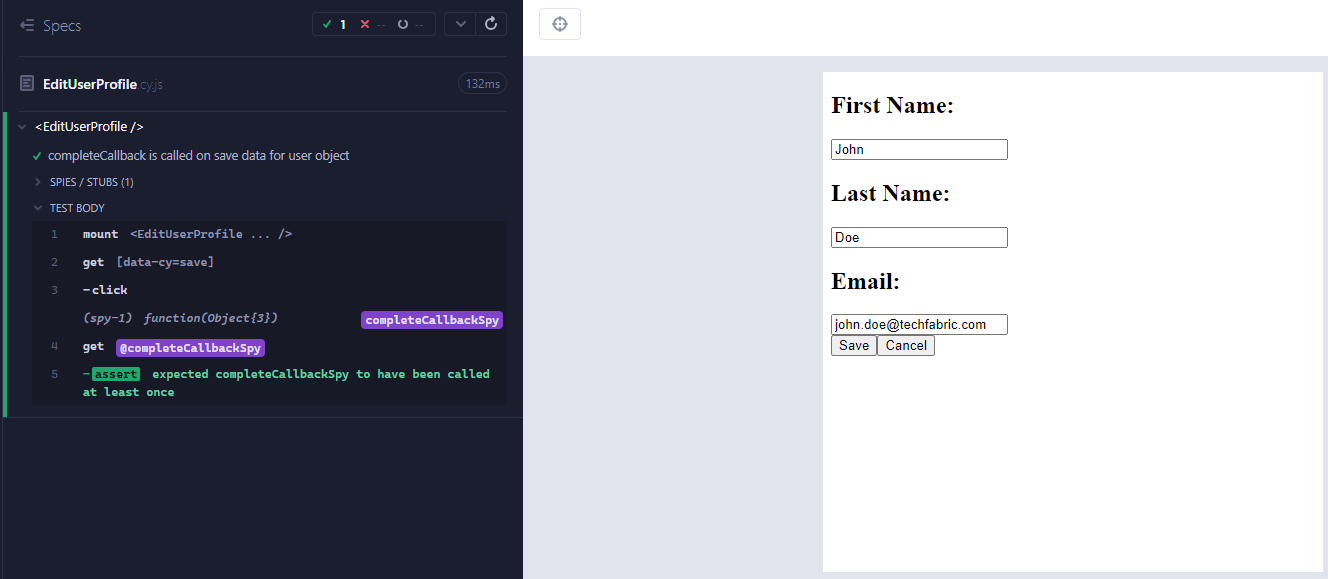
Add EditUserProfile test:
import React from "react";
import EditUserProfile from "./EditUserProfile";

describe("<EditUserProfile />", () => {
  it("completeCallback is called on save data for user object", () => {
    const user = {
      firstName: "John",
      lastName: "Doe",
      email: "john.doe@techfabric.com",
    };

    const completeCallbackSpy = cy.spy().as("completeCallbackSpy");

    cy.mount(
      <EditUserProfile user={user} completeCallback={completeCallbackSpy} />
    );

    cy.get("[data-cy=save]").click();

    cy.get("@completeCallbackSpy").should("have.been.called");
  });
});
Conclusion
As you might notice, it's quite simple to cover existing components with tests, and this small step, done by an Automation Engineer or Developer, can be a significant improvement for the project's quality assurance. Which will help to shorten the delivery time and reduce the defects that can arise later.
